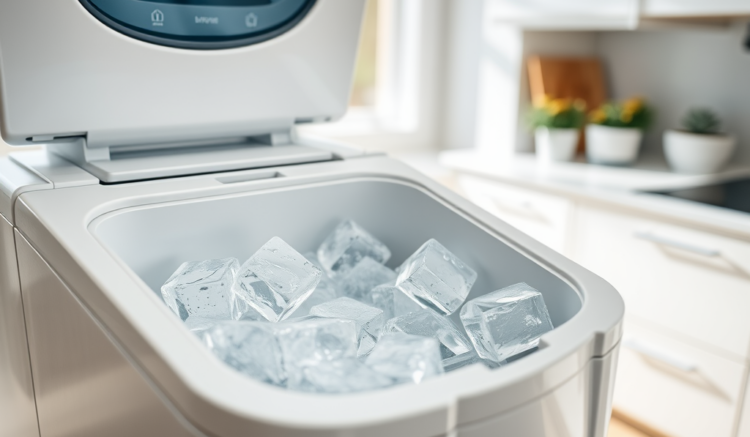
Maintaining a clean ice maker is essential for ensuring that the ice it produces is not only delicious but also safe for consumption. Over time, ice makers can accumulate mineral deposits, bacteria, and even mold, leading to unpleasant smells and potentially contaminated ice. Therefore, regularly cleaning your ice maker is a vital task that should not be overlooked. Engaging in this cleaning routine will allow you to enjoy crystal-clear ice while extending the life of your appliance. Moreover, having the right tools and supplies on hand can streamline the entire process, making it simpler and more effective. In this article, we will explore everything you need to know about cleaning your ice maker, including the necessary tools, supplies, and a step-by-step guide.
Understanding the Importance of Cleaning Your Ice Maker
There are numerous reasons you should prioritize the cleaning of your ice maker. First and foremost, ice that is not cleaned regularly may harbor harmful bacteria and mold, posing health risks to anyone consuming it. This threat is particularly significant during warmer months when ice consumption is at its peak. In addition to health concerns, unclean ice machines can negatively affect the taste and quality of the ice produced, making your beverages less enjoyable. Regular maintenance can help prevent breakdowns, saving you the hassle and cost of unexpected repairs. A clean appliance will also operate more efficiently, reducing energy consumption and ultimately saving you money on electricity bills. Thus, cleaning your ice maker is truly an investment in your health and financial well-being.
Essential Tools for Ice Maker Cleaning
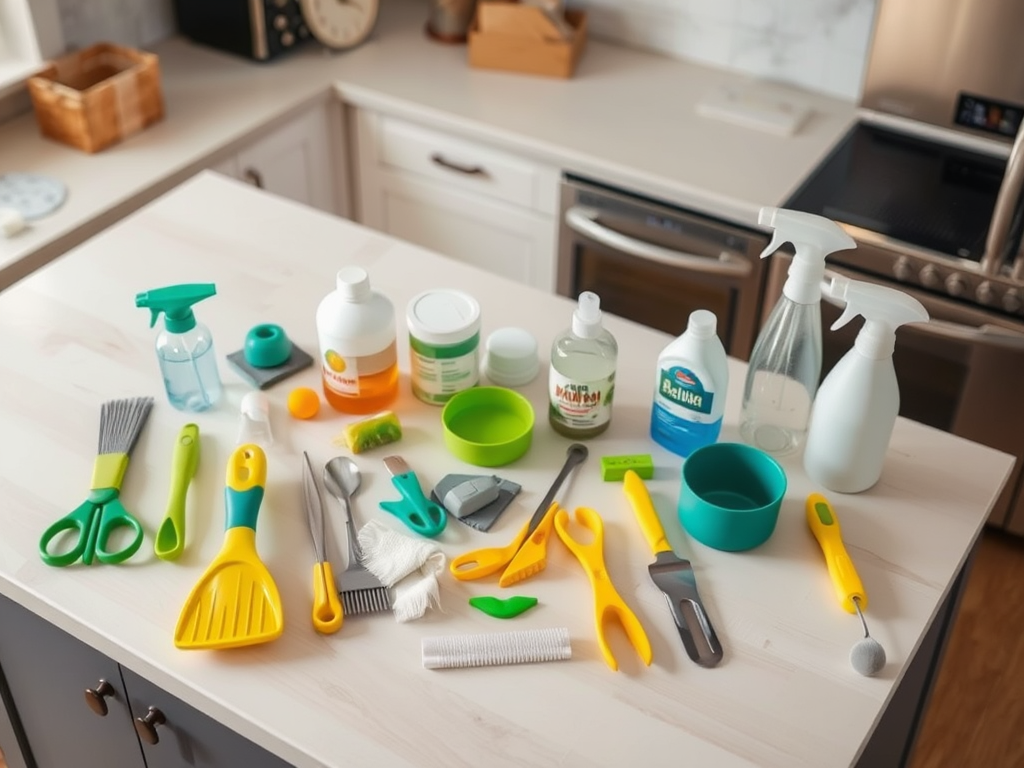
Gathering the right tools will make your cleaning task much more manageable and efficient. Here is a list of essential tools you will need for this cleaning process:
- Scrub Brushes: A soft-bristled scrub brush helps remove debris without damaging the surfaces.
- Bucket: Useful for catching any water or debris that may fall during the cleaning process.
- Towels or Rags: Soft, absorbent towels are critical for drying surfaces.
- Screwdriver: Depending on your model, a screwdriver may be necessary to access certain components.
- Vinegar or Commercial Cleaner: A cleaning solution is essential for disinfecting and removing mineral buildup.
Supplies for the Cleaning Process
In addition to tools, you’ll need specific supplies to perform an effective cleaning of your ice maker. These supplies will ensure that you can tackle dirt and grime effectively. Here’s a list of supplies you’ll want to gather:
- Warm Water: Essential for diluting your cleaning solution.
- Food-Safe Sanitizer: Necessary to sanitize surfaces after the cleaning process.
By assembling these tools and supplies beforehand, you can facilitate a seamless cleaning experience.
| Tool/Supply | Purpose |
|---|---|
| Scrub Brush | To scrub surfaces without scratching |
| Bucket | To catch debris and water |
| Towels | For drying surfaces after cleaning |
| Vinegar | For disinfecting and removing buildup |
Step-by-Step Cleaning Process
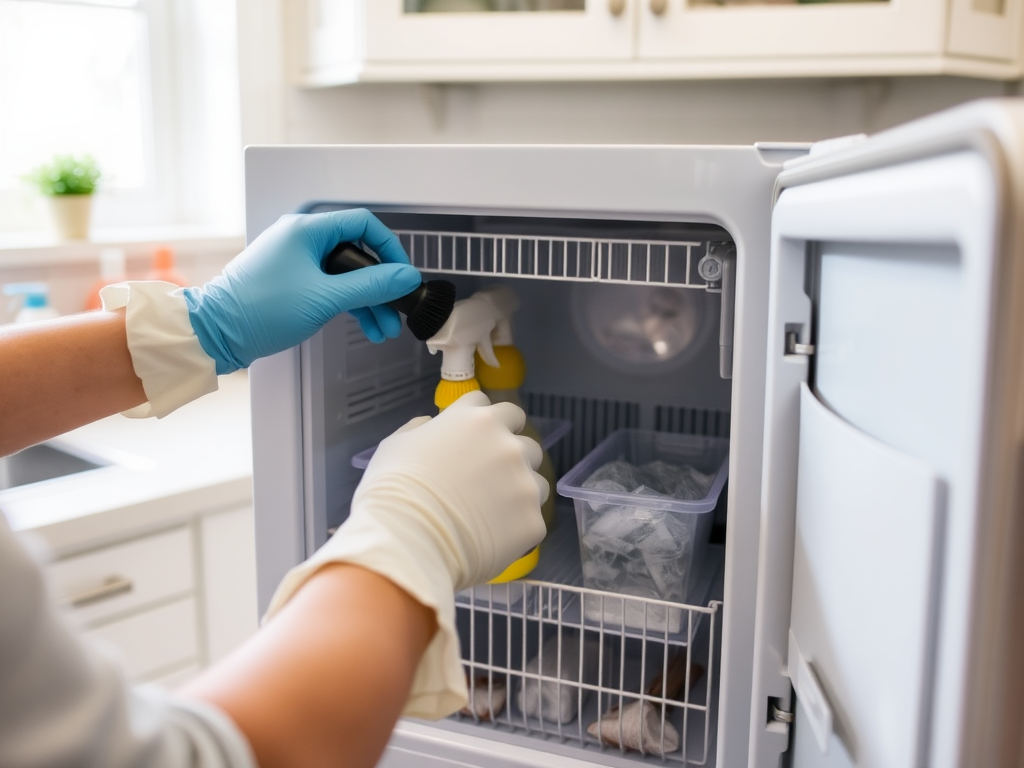
Now that you’ve prepared your tools and supplies, it’s time to dive into the cleaning process. Here’s a detailed step-by-step guide to cleaning your ice maker:
- Unplug the Ice Maker: Safety first! Always unplug the appliance to avoid accidents while you clean.
- Remove Ice Bins: Take out any removable ice bins and empty out any ice.
- Clean Ice Bins with Solution: Use your selected cleaning solution and scrub brush to clean the ice bins thoroughly before rinsing.
- Wipe Down Interior Components: Utilize a cloth soaked in your cleaning solution to wipe down the inside components of the ice maker.
- Rinse with Warm Water: Rinse all surfaces with warm water to ensure all cleaning residue is eliminated.
- Sanitize: Apply a food-safe sanitizer to all cleaned areas, allowing it to sit for the recommended duration.
- Reassemble and Plug In: Once all components are dry, reassemble your ice maker and plug it back in.
Conclusion
Regular maintenance of your ice maker isn’t just about cleanliness; it’s about safety and efficiency. Having the right tools and supplies available, coupled with a systematic cleaning process, ensures that your ice machine functions optimally. By taking the time to clean regularly, you’re guaranteeing that you’ll have pure, safe ice when you need it. Don’t overlook this simple upkeep task – your health and the functionality of the appliance depend on it. Enjoy your fresh, clean ice as a reward for your efforts!
Frequently Asked Questions
- How often should I clean my ice maker? It’s recommended to clean your ice maker every 3-6 months, depending on usage and local water quality.
- Can I use bleach to clean my ice maker? No, it is not advisable to use bleach as it can leave harmful residues. Opt for vinegar or commercial cleaners instead.
- What should I do if my ice maker has a strange smell? Clean the ice maker thoroughly and check the water supply for any contaminants. Use a food-safe sanitizer to remove odors.
- Is it safe to clean my ice maker with tap water? Yes, but if your tap water has high mineral content, consider using distilled water to minimize buildup.
- What if my ice maker is still not producing ice after cleaning? If issues persist, check for possible clogs in the water supply or consult a professional for maintenance.